How to enable Config on Cloud / Auto Mode unlocking on your intercom
Step-by-step guide to set your indoor monitor’s Unlock button to use cloud relay control (Config on Cloud / Auto Mode), including soft key setup, saving changes, and testing.
Before you start (cloud check)
In your cloud portal, open the intercom device.
Confirm Relay A (and Relay B, if used) are enabled and mapped as you expect (door strike, mag-lock, gate, etc.).
Make sure the indoor monitor and intercom are already enrolled and associated in the same site/project so calls route correctly.
Step-by-step setup on the indoor monitor
You can do this remotely (cloud remote control) or by browsing to the monitor’s local IP.
1) Log in to the indoor monitor
Open a browser and go to the local IP of the indoor monitor (or remote-control it from your cloud portal).
Log in as admin (use your updated password if changed).
2) Go to Device → Relay
This is where you set how the on-screen soft keys behave when you’re:
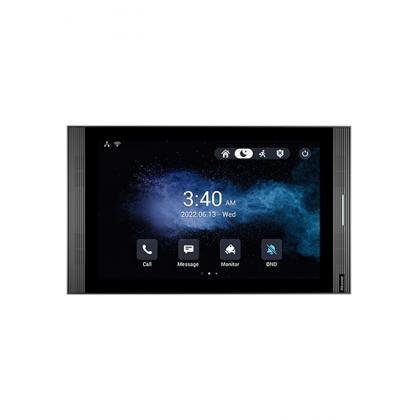
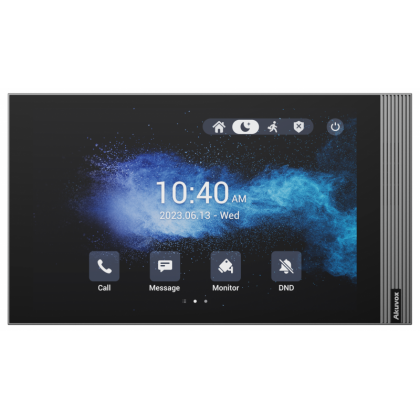
In Talking Page (during an active call)
In Managed Page (device control view)
In Preview Page (standby/preview screen)
Menu names can vary slightly by firmware, but the options below are commonly named as shown.
3) Configure soft key behaviour
A) Soft key – In Talking Page
When the monitor is in a live call with the intercom:
Disable Key 2 and Key 3 (to avoid confusion).
Rename Key 1 to Unlock (clear for the user).
Change Unlock Type from Local Relay ➜ Config on Cloud / Auto Mode.
This routes the unlock command via your cloud relay configuration rather than any local relay contact on the monitor.
B) Soft key – In Managed Page
Enable Unlock.
Set Unlock Type to Config on Cloud / Auto Mode.
C) Soft key – In Preview Page (optional but recommended)
Enable Unlock so you can open the door from the preview/standby screen.
Set Unlock Type to Config on Cloud / Auto Mode.
4) Save / Submit your changes
Click Submit (or Save) at the bottom of the page.
If prompted to reboot, allow the device to restart so settings apply.
Test the setup
Place a call from the intercom to the indoor monitor.
On the monitor, press Unlock.
You should see the intercom trigger the configured relay(s) (e.g., Relay A or Relay B) and hear/see confirmation such as “Welcome. Please come in.”
If you’ve enabled multiple relays in cloud, confirm the correct relay activates (adjust mapping in cloud if needed).
Troubleshooting
Unlock key doesn’t appear
Recheck the Soft key sections for Talking / Managed / Preview pages and ensure Unlock is enabled.
Unlock still triggers the local relay
Verify Unlock Type = Config on Cloud / Auto Mode (not Local Relay) in all three pages.
Nothing happens when pressing Unlock
Confirm the intercom relays are enabled in cloud and wired to the door hardware.
Check network connectivity (monitor ↔ intercom ↔ cloud).
Wrong door/relay operates
In cloud, remap which relay should respond to the unlock command.
Menu labels differ
Firmware UI can vary—look for Device / Relay / Soft Key or similarly named sections.
Need further help? Visit the Akuvox Support Hub for additional videos and HowTo guides.
More Akuvox frequently asked questions:
Featured Products