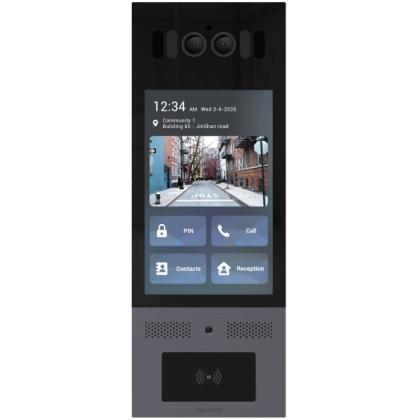
Akuvox X912 - Guide to Admin Menu settings
CIE Tech Team demonstrates the features and functionality of the Admin Menu on the Akuvox X912 Touchscreen Door Intercom.
The Admin Menu for the Akuvox X912 allows Administrator Users to update and amend various settings for this IP door intercom device, including:
- Network Settings
- Volume Settings
- Screen Brightness
- Security Relay
How to view System Information
- Sign-in to the Menu using the Key button / enter code 2396 (default / out-of-box PIN #) / Press Enter (via the 'Bell' button)
- Choose 'System Information' option
- Displays IP Address, MAC Address, Firmware and Hardware
- Press 'Back' button (<) to return to Main Menu
How to change IP Address settings
- Sign-in to the Menu using the Key button / enter code 2396 (default / out-of-box PIN #) / Press Enter (via the 'Bell' button)
- Choose 'Network Setting' option
- Choose between 'Static Mode' or 'DCHP'
-
Choosing DCHP allows Admin to alter :
- IP Address
- Subnet mask
- Gateway
- DNS - Having made any alterations to DCHP settings, press 'Confirm' button
- Press 'Back' button (<) to return to Main Menu
How to change Volume settings
- Sign-in to the Menu using the Key button / enter code 2396 (default / out-of-box PIN #) / Press Enter (via the 'Bell' button)
- Choose 'Volume' option
-
Choose setting options for:
- Prompt Volume
- Speaker Volume
- Keypad Volume
- Microphone Volume - Adjust volume settings using level bar
- Press 'Back' button (<) to return to Main Menu
How to change Screen Brightness settings
- Sign-in to the Menu using the Key button / enter code 2396 (default / out-of-box PIN #) / Press Enter (via the 'Bell' button)
- Choose 'Brightness' option
-
Choose either:
- 'Automatic' - which will automatically alter the screen brightness based on the abient light levels aoround the device's location
- 'Manual' - which will fix the screen brightness at a static level at all times - Adjust Manual brightenss settings using level bar
- Press 'Back' button (<) to return to Main Menu
More Akuvox X912 frequently asked questions:
-
How to set up contacts
-
How to set up static IP address
-
How to set up relays
-
How to set up DTMF codes
-
How to set up Manager Dial
- How to enable SR01 Security Relay Module
- How to set up Local User Credentials
- Registering Admin and User Cards on the device
Featured Products

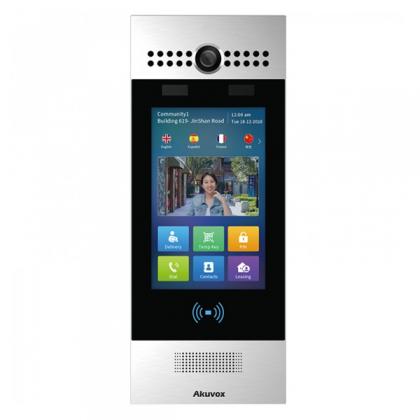
Akuvox - X915S IP Touchscreen Smart Door Intercom Unit with Face Recognition, QR, RFID, BLE
view product
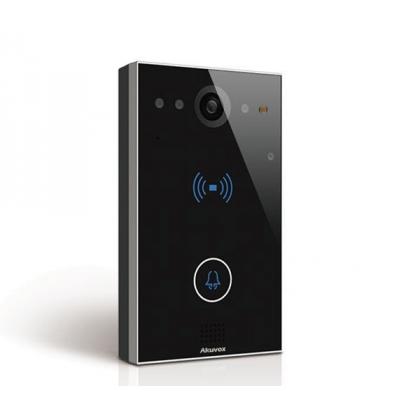
Akuvox - E11R Compact SIP Intercom with 1 Call Button (Video & Card reader), incl. Surface Mount Back Plate
view product