How to Configure Input Triggers on the Akuvox R20K and X912
In this guide, the CIE technical team demonstrates how to configure input triggers on the Akuvox R20K and X912 devices. This allows external switches such as push buttons or wired sensors to trigger the intercom’s relay, ideal for automating gates or door strikes.
Step-by-Step: Set Up Inputs to Trigger a Relay
Many Akuvox intercoms support physical input connections. When triggered (e.g. via a push-to-exit button or sensor), these inputs can activate relay A or B—controlling doors, gates, or other access points.
Step 1: Access the Web Interface of the Device
Use the Akuvox IP Scanner to locate the IP address of the device (e.g. R20K or X912).
Open a web browser and enter the IP address to access the login page.
Log in with your credentials:
Default Username: admin
Default Password: admin
(You may be prompted to change this on first login.)
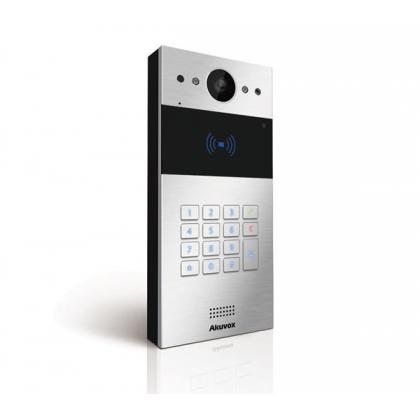
Step 2: Configure Inputs on the R20K
Once logged in, navigate to Device Management > Access Control > Input.
Ensure the input is enabled.
Assign the input to execute Relay A or Relay B.
For example:
Input A → Relay A
Input B → Relay B
Click Submit to save your changes.
Now, when the connected switch is activated, the associated relay will trigger.
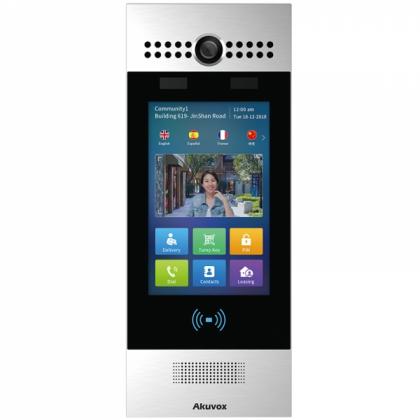
Step 3: Configure Inputs on the X912 (or similar models)
Use the IP Scanner again to find the IP address for the X912.
Log in using your installer credentials (default admin / admin, unless changed).
Navigate to Access Control > Input.
Enable Input A and assign it to the appropriate relay (e.g. Relay A).
Repeat this process for additional inputs as needed (e.g. Input B → Relay B).
Click Submit.
Once configured, any physical device wired into the input terminals will trigger the assigned relay output.
Need further help? Visit the Akuvox Support Hub for additional videos and HowTo guides.
More Akuvox frequently asked questions:
Featured Products