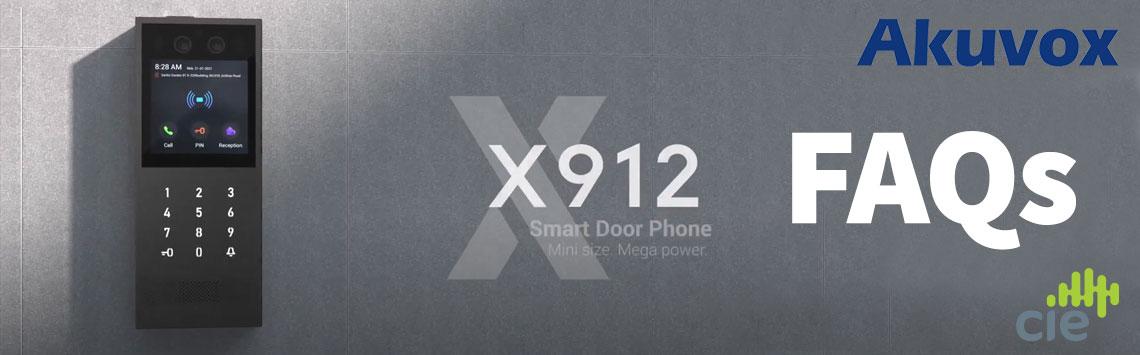
Introducing the new series of Technical Support FAQ videos for the Akuvox X912 vandal-resistant smart door intercom.
Akuvox X912 FAQs
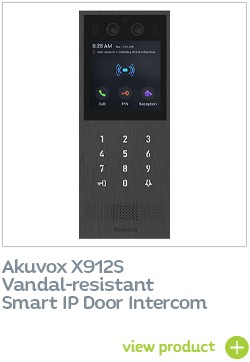
The Akuvox X912S Vandal-resistant Door Intercom is an advanced, smart IP door intercom device with multiple contactless credential authentication options.
CIE introduces a whole new host of videos on the most frequently asked questions for the Akuvox X912, how to set up contacts, how to set up relays and many more. Click the links below and let the CIE team of technical experts talk you through the configuration of your Akuvox X912 device...
Frequently asked questions
-
How to set up contacts
-
How to set up static IP address
-
How to set up relays
-
How to set up DTMF codes
-
How to set up Manager Dial
-
How to enable SR01 Security Relay Module
-
How to set up Local User Credentials
-
Registering Admin and User Cards on the device
-
Guide to Admin Menu settings
How to set up contacts on the Akuvox X912
WIthin an 'MDU' application (multi-dwelling unit) such as apartment block or multi-business offices, the X912 allows each resident apartment or individual business to be created as a contact in the intercom's directory.
This allows visitors to the building so quickly and easily search for the individual or company in the intercom directory and identify them with name, image, logo etc.
- Log into the web interface using the IP address of the device.
- Once logged in, you'll see the home page, navigate to Directory > User and click on 'Add'.
- Scroll down to the Contact Settings, here you can add a phone number. This can be a direct IP address or an extension number if using a SIP account.
-
Click submit, then you'll find that your contacts are on the call list on the X912.
How to set up static IP address for Akuvox X912
- First use the Akuvox IP scanner to find the IP address of the X912 which is set by DHCP by default.
- Now log into the web interface using the IP address, the default Username and Password is 'admin' in lowercase.
- Once logged in you'll see the home page, navigate to Network>Basic and click on 'Static IP Address'. Here you can set your Static IP Address configuration and once complete you can click 'Submit'.
-
Now your device will be on the IP address which we've just set.
How to set up relays on the Akuvox X912
- Log in to the Web Interface using the IP address of the device.
- From the home page, let's navigate down to the Access Control, and then Relay.
- We've got two Relays: A & B, we can set up a Trigger Delay for the Relay to activate up to 10 seconds. You can also set up a Hold Delay for up to 60 seconds and also change the Relay Name, remembering to 'Submit' any changes that you make.
-
In this section you can see the Relay Status showing us if the Relay is 'Low' or a 'High' state.
How to set up DTMF codes for the Akuvox X912
- Log on to the web interface using the IP address of the device.
- Once logged in and on the home page, navigate to the 'Access control', and then 'Relay'. Here is where you find the DTMF settings.
- Here you change DTMF settings from 1Digit DTMF up to 4Digits DTMF. And for the DTMF code you can use 0 through to 9, Star (*) and also Hash (#).
-
Once you've picked your digit, click 'Submit' and it's ready for you to use.
How to set up Manager Dial on the Akuvox X912
- Log on to the web interface using the IP address of the device.
- Once logged in and on the home page, navigate to 'Intercom' and then 'Basic'. Here is where you find 'Manager Dial' option.
- There are 2 call types; Group Call or Sequence Call. Here you can set the direct IP address of the answering device or the extension number if using a SIP account.
-
Click 'Submit' and you've completed the set-up.
How to enable SR01 Security Relay Module
- First click on access control, then you've got the relay settings on the security relay click enabled.
- On the bottom where it says 12 volt power output put security relay.
- Click submit and it's all enabled.
-
Click test and the device should let you in.
How to set up Local User Credentials for Akuvox X912
- First go to the dashboard, go to directory > user.
- Then you can add a user in the top right. Enter a name, private pin (which will be four 2's).
- Get the RF card, click obtain and then hover over inte X912.
- Then go down to face and import an image and submit the details.
-
Test the fob and the device should let you in.
Registering Admin and User Cards on the Akuvox X912 device
- First sign into the menu using the key button and then the code 2396 and then the bell.
- Then scroll down to advanced settings - here we've got three choices: reboot the device, restore the device back to factory settings. Or go into admin access to modify an admin card.
- Access to modify an admin card - Go to add an admin card > get your card and tap it to the screen, now that's been added.
- To delete an admin card > go into delete admin card and then present the card and it deletes it automatically.
- Going back to the main screen you need to sign in using the code three eight eight eight, this gives you a different menu. Firstly we're going to modify user card, now use the card, tap it on the screen that brings you to the next menu. What we're going to do is add a user card.
- Get your fob/card > touch the fob on the screen now that fob's been added. If you wanted to delete this fob, you can do it manually if you know the number associated to the fob or you could do it automatically. Just tap the fob on the screen and that's now deleted.
- Going back to the front menu you can modify the public pin. Again tap the admin card to the screen, now you can enter a public pin for example we use one two three four and confirm that's now been added in.
- You can then modify a private pin, again tap in the admin card on the screen, then add a private pin for example two five eight zero that's now been added in.
Guide to Admin Menu settings for Akuvox X912
- First we need to press the key icon > then enter the pin two three nine six. Here we can look at the system information - the IP address, the MAC address, the firmware and the hardware.
- Then scrolling down you can look at account one and account two if they were set up.
- Coming back out you can go into network settings, this is where you can change from DHCP to static.
- Go back up to the front of the menu you have the volume, here you can change the volume for the prompt, the speaker, the keypad and the microphone. Here you have got a graph that can be moved to change to as high or as low as you want for the volume. Once set just back out.
- Next the brightness, you can change this from automatic to manual > if set on manual you can change it darker or lighter to wherever needed.
- Next we have the security relay > if a security relay is installed on the unit this is where you could test the security relay to make sure it's working.
Need help choosing the right Akuvox product or support with designing your Access control system?CIE-Group are one of the UK's leading specialist Security & AV technology distributors. Our team of system design and technical support experts are on-hand to assist with any product, system or integration questions you may have. For advice or assistance, please contact the CIE team on T. 0115 9770075 or email us at [email protected] |
Related Products: