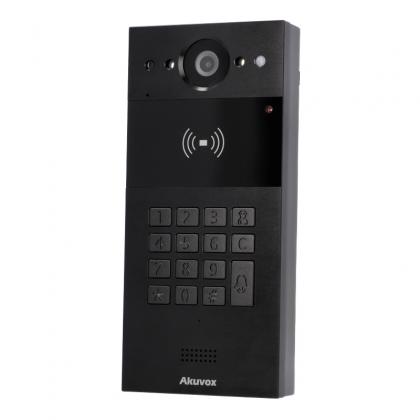
How to add APN Settings to the Akuvox R20K-L using the AK Partner App
Need to configure mobile network settings for your R20K-L4G LTE Intercom? In this tutorial, we walk you through adding custom APN details via the AK Partner app - ensuring smooth LTE connectivity with your Akuvox device.
This quick guide walks you through the step-by-step process for adding APN (Access Point Name) settings to your Akuvox R20K-L 4G LTE enabled intercom, using the AK Partner mobile app.
Whether you're setting up for a custom SIM provider or resolving connectivity issues, this tutorial ensures your LTE connection is properly configured.
What you’ll need:
- An Akuvox R20K-L with LTE module
- The AK Partner app installed on your phone
- The MAC address or QR code of your device
- Correct APN details from your SIM provider
Step-by-Step Instructions:
1. Log in to the AK Partner App
Open the app and sign in using your credentials.
2. Go to LTE Setup
Tap on "Me" at the bottom menu, then select "Bluetooth LTE Setup".
3. Enter Device Details
You’ll need the MAC address of the R20K-L device:
- Either type it in manually
- Or scan the QR code using the square scan icon on the right
4. Open the APN Configuration
Once connected, tap the "+" icon in the top-right corner to add a new APN setting.
5. Input Your APN Details
Fill in the required fields:
- Name – A label for your reference (e.g., Astor Mobile)
- APN – The APN address provided by your SIM provider
- APN Type – This is typically set to default
Click Submit to save the settings.
6. Reboot the Device
Finally, reboot your R20K-L to apply the changes.
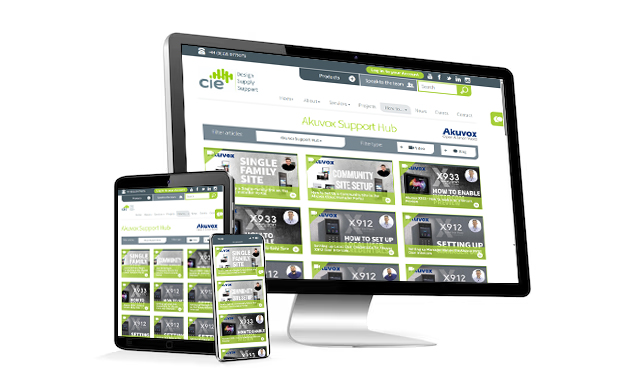
Need further help? Visit the Akuvox Support Hub for additional videos and HowTo guides.