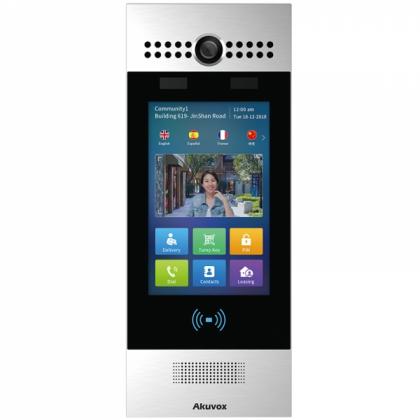
Setting up a Relay on the Akuvox X912 Door Intercom
The CIE Tech Team demonstrates how to quickly and easily set a Relay on the Akuvox X912 Door Intercom.
How to set up relays on the Akuvox X912 Door Intercom
- Log in to the Web Interface using the IP address of the device.
- From the home page, let's navigate down to the Access Control, and then Relay.
- We've got two Relays: A & B, we can set up a Trigger Delay for the Relay to activate up to 10 seconds. You can also set up a Hold Delay for up to 60 seconds and also change the Relay Name, remembering to 'Submit' any changes that you make.
-
In this section you can see the Relay Status showing us if the Relay is 'Low' or a 'High' state.
Need further help? Visit the Akuvox Support Hub for additional videos and HowTo guides.