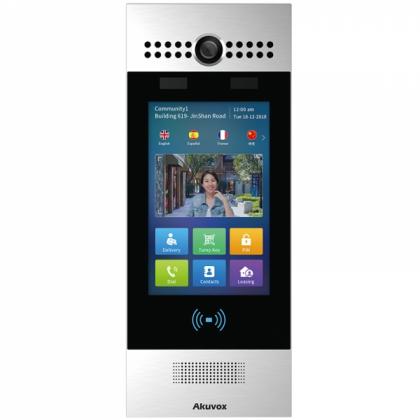
Setting up static IP address for Akuvox X912 Door Intercom
CIE's Ashleigh Wilson demonstrates how to quickly and easily set up the Static IP Address from DHCP on the Akuvox X912 Door Intercom.
How to set up static IP address for Akuvox X912 Door Intercom
- First use the Akuvox IP scanner to find the IP address of the X912 which is set by DHCP by default.
- Now log into the web interface using the IP address, the default Username and Password is 'admin' in lowercase.
- Once logged in you'll see the home page, navigate to Network>Basic and click on 'Static IP Address'. Here you can set your Static IP Address configuration and once complete you can click 'Submit'.
- Now your device will be on the IP address which we've just set.
Need further help? Visit the Akuvox Support Hub for additional videos and HowTo guides.
Featured Products

Akuvox - S539 IP 10" Touchscreen Smart Door Intercom with Face Recognition, QR Code, RFID, BLE & Radar (Motion) - IK08
view product