How to Change an Akuvox Relay from Monostable to Bistable Mode
Step-by-Step: Switching an Akuvox Relay to Bistable Mode
By default, many Akuvox intercom relays are set to monostable, meaning they trigger momentarily before automatically returning to their previous state. For applications like automated gates, a bistable (or latching) relay may be preferred—staying open until another command tells it to close.
Here’s how to change that setting.
Step 1: Log into the Device Web Interface
Use the Akuvox IP Scanner to locate your device’s IP address on the network.
Open your browser and enter the IP address of the device.
Log in using your installer credentials.
Default Username: admin
Default Password: admin (change this if prompted)
Step 2: Navigate to the Relay Settings
In the web interface, go to Device Management > Access Control > Relay.
You’ll see available relays listed (e.g. Relay A, Relay B).
Step 3: Change Relay Mode to Bistable
Locate the relay you want to adjust—e.g. Relay B.
Change the relay type from Monostable to Bistable.
Monostable = triggers briefly
Bistable = toggles open and closed on command
Click Submit to apply the change.
Step 4: Repeat for Other Devices
If you’re using another device such as the Akuvox X912, repeat the process:
Find its IP address and log in.
Navigate to Access Control > Relay Settings.
Update the relevant relay (e.g. Relay B) to Bistable, and click Submit.
Once completed, the relay will remain open until a second command is issued—ideal for systems where gate control is managed via app, keypad, or remote user input.
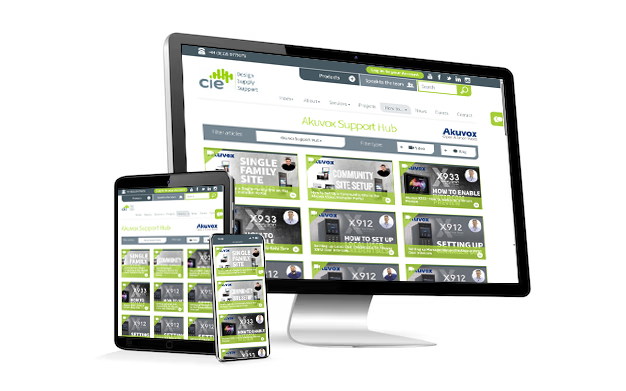
For additional tips and setup tutorials, visit the Akuvox Support Hub or contact the CIE Technical Support team.
Need further help? Visit the Akuvox Support Hub for additional videos and HowTo guides.