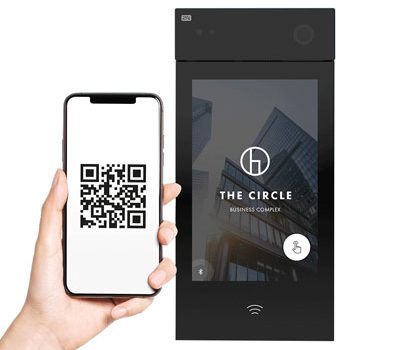
The Admin Menu for the Akuvox X912 allows Administrator Users to update and amend various settings for this IP door intercom device, including:
- Network Settings
- Volume Settings
- Screen Brightness
- Security Relay
How to view System Information
- Sign-in to the Menu using the Key button / enter code 2396 (default / out-of-box PIN #) / Press Enter (via the ‘Bell’ button)
- Choose ‘System Information’ option
- Displays IP Address, MAC Address, Firmware and Hardware
- Press ‘Back’ button (<) to return to Main Menu
How to change IP Address settings
- Sign-in to the Menu using the Key button / enter code 2396 (default / out-of-box PIN #) / Press Enter (via the ‘Bell’ button)
- Choose ‘Network Setting’ option
- Choose between ‘Static Mode’ or ‘DCHP’
-
Choosing DCHP allows Admin to alter :
– IP Address
– Subnet mask
– Gateway
– DNS - Having made any alterations to DCHP settings, press ‘Confirm’ button
- Press ‘Back’ button (<) to return to Main Menu
How to change Volume settings
- Sign-in to the Menu using the Key button / enter code 2396 (default / out-of-box PIN #) / Press Enter (via the ‘Bell’ button)
- Choose ‘Volume’ option
-
Choose setting options for:
– Prompt Volume
– Speaker Volume
– Keypad Volume
– Microphone Volume - Adjust volume settings using level bar
- Press ‘Back’ button (<) to return to Main Menu
How to change Screen Brightness settings
- Sign-in to the Menu using the Key button / enter code 2396 (default / out-of-box PIN #) / Press Enter (via the ‘Bell’ button)
- Choose ‘Brightness’ option
-
Choose either:
– ‘Automatic‘ – which will automatically alter the screen brightness based on the abient light levels aoround the device’s location
– ‘Manual‘ – which will fix the screen brightness at a static level at all times - Adjust Manual brightenss settings using level bar
- Press ‘Back’ button (<) to return to Main Menu
More Akuvox X912 frequently asked questions:
-
How to set up contacts
-
How to set up static IP address
-
How to set up relays
-
How to set up DTMF codes
-
How to set up Manager Dial
- How to enable SR01 Security Relay Module
- How to set up Local User Credentials
- Registering Admin and User Cards on the device