


How to Set Up a Community Site in the Akuvox Cloud Installer Portal
This guide walks you through each step, from building creation to apartment and resident configuration.
Step 1: Create a New Community Site
Log in to the Akuvox Cloud Installer Portal with your installer credentials.
On the dashboard, click “Add Community Site.”
Enter:
- Community Name – Use a name that clearly identifies the site.
- Community Address – This is displayed on some multi-tenant door phones (e.g. X912, X915) and affects the weather feature on indoor monitors.
Set the:
- Time Zone – London GMT
- Date Format – Day/Month/Year (common in Europe)
- Time Format – 12-hour or 24-hour
Choose your Feature Plan:
- Basic – Requires one indoor monitor per apartment.
- Premium – Allows setups without an indoor monitor per apartment.
- (Select Basic for this example.)
Choose whether to enable Landline Service (requires subscription).
Click Submit. If you’re using video storage or archive services, click Next to enable these features.
Step 2: Add a Building
From your new community site, click the More Arrow to open the site details.
Click “Add Building.”
Name it something meaningful, e.g., Block A, Main House, or Gatehouse.
In this example, we’ll use House.
Click into the building to access additional options.
Step 3: Add Intercom Devices
In the top menu, go to “Intercom Devices.”
Click New and select:
- Device Type – Auto-filled as “Multi-Tenant Door Phone.”
- MAC Address – Found on the device packaging or via IP scanner.
- Network Group – Keep as Network 1 unless you’re using separate networks.
For Contact Display Settings, select Apartment Numbers Only.
Name the device – e.g. Main Gate or Front Entrance.
Enable “Allow Users to Monitor Device” if required (typical for most setups).
Set up Relays:
Rename Relay 1 to Main Gate or other appropriate label.
Add additional relays or a Security Relay (SR01) if needed.
Click Submit.
Step 4: Add Apartments
Navigate to Apartments and click New.
Enter:
- Apartment Number – Can be numeric (e.g. 1–5), a house number, or placeholder if unknown.
- Display Name – Friendly name for the intercom directory, e.g. Main House.
Set Relay Web to 0 if not using additional relays.
Set Contact Preference – Default is Group Call.
Choose Call Type:
- App & Indoor Monitor – Common default
- Adjust as needed for backup routing (e.g. monitor first, app second).
Choose SIP or IP Call:
- Use SIP Call for LTE devices (e.g. E18 LTE, R20 LTE).
- Use IP Call if all devices are on the same network.
Enter the Indoor Monitor MAC Address (required in Basic mode).
Leave Arming Function unchecked unless using security features.
Name the Device (e.g. Hallway).
Leave Relay 1/2 disabled (these refer to indoor monitor relays, not intercoms).
Add a Resident:
- First Name
- Last Name
- Email Address (triggers SmartPlus app invite)
Click Submit.
Step 5: Final Checks
Reboot both indoor monitors and intercoms to bring them online.
Devices should change from grey (offline) to green (online) in the portal.
If they remain offline:
- Check network connectivity
- Confirm internet access
- Ensure firmware is up to date
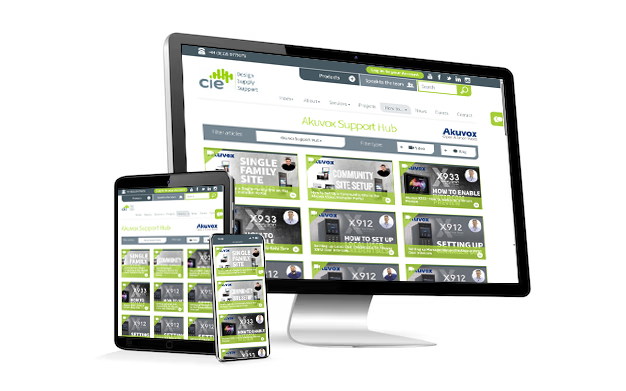
Need further help? Visit the Akuvox Support Hub for additional videos and HowTo guides.
More Akuvox frequently asked questions:
-
How to set up contacts
-
How to set up static IP address
-
Akuvox X933 – How to enable an Intercom Preview
-
Akuvox X912 – Guide to Admin Menu settings
-
Akuvox Cloud Door Intercom Service
