How To Set-up Single Tenant Mode on Akuvox Cloud | Akuvox support
Getting Started with Single-Tenant Mode on Akuvox Cloud
This guide is designed to walk you through the process of setting up Single Tenant mode on Akuvox Cloud. By following these steps, you’ll be equipped to effortlessly manage user accounts, family member accounts, and associated devices.
Logging in
- Navigate to ecloud.akuvox.com
- You require an installer username and password. This is provided by your akuvox distributor sales team.
- Once logged in you’ll see the option for akuvox or akubela portal, choose akuvox. For this ensure your installer role is set to single tenant manager
Setting up user
- Create a unique name which is relevant to the site. The room name can be kept empty.
- You can either enter an email address or mobile number.
- In our example we added the end users email address this will be used for logging into the akuvox Smart Plus application
- Ensure to select United Kingdom for the country. Again the mobile number is not a required field
Adding user information
- Add the end users address details. This is used for your reference and for future updates like weather functionality on the indoor monitors
- SIP or IP calling is important to understand. If all your devices are on the same network then IP calling should be selected. Otherwise if you’re using a 4G router, separate networks, or an E18 LTE, then you should select SIP call time.
- Time zones and language should be pre-set to London and English
- Unless you require the landline calling service which is a premium plan feature you can ignore the landline number section.
- Home automation is used for akubela products keep this disabled if you’re using akuvox products
- Premium plan should be disabled unless you require landline calling or other premium features like third party camera streams in the Smart Plus app.
Adding the indoor monitor
- Adding the indoor monitor to our single tenant site
- If you don’t have an indoor monitor then keep this option off
- If you do have an indoor monitor, turn this on
- Fill in the indoor monitor MAC address and the location is going to be installed
- Relay 1 and Relay 2 relate to the relays on the indoor monitor these typically are disabled in most installs
Final steps
- Select the device icon to see the devices within the site
- The indoor monitor is added and already online
- You can also add additional monitors using this option
- Change the device to single tenant door phone
- Enter the intercom MAC address and then the device location
- If you’re using more than one relay you can add this by selecting add relay
- Click submit
Now all of our devices have been added into the akuvox single tenant site
Troubleshooting
- If you have any devices which are displayed as grey don’t be alarmed this is usually fixed by rebooting the device.
- The indoor monitor must be online for you to access the Smart Plus application for the first time
- If the device is still grey after rebooting then try a factory reset
If this fails, or the problem persists, then please contact technical support at CIE Group and they’ll be able to support you.
More frequently asked questions:
- How to set up contacts
- How to set up static IP address
- How to set up Manager Dial
- Akuvox X933 – How to enable an Intercom Preview
- Akuvox X912 – Guide to Admin Menu settings
- Akuvox Cloud Door Intercom Service
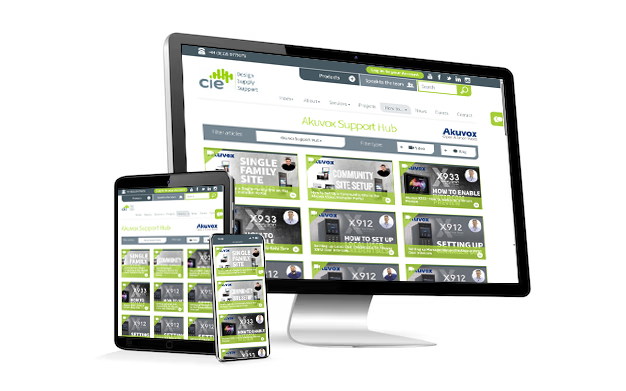
Need further help? Visit the Akuvox Support Hub for additional videos and HowTo guides.